Deploy Tailcall GraphQL on Fly.io
To deploy tailcall on Fly.io, you first need to generate an API key from Fly.io. If you don't already have an account, you can create one here.
Generate API Key for Fly.io
Follow these steps to generate an API key:
-
Go to the Fly.io dashboard.
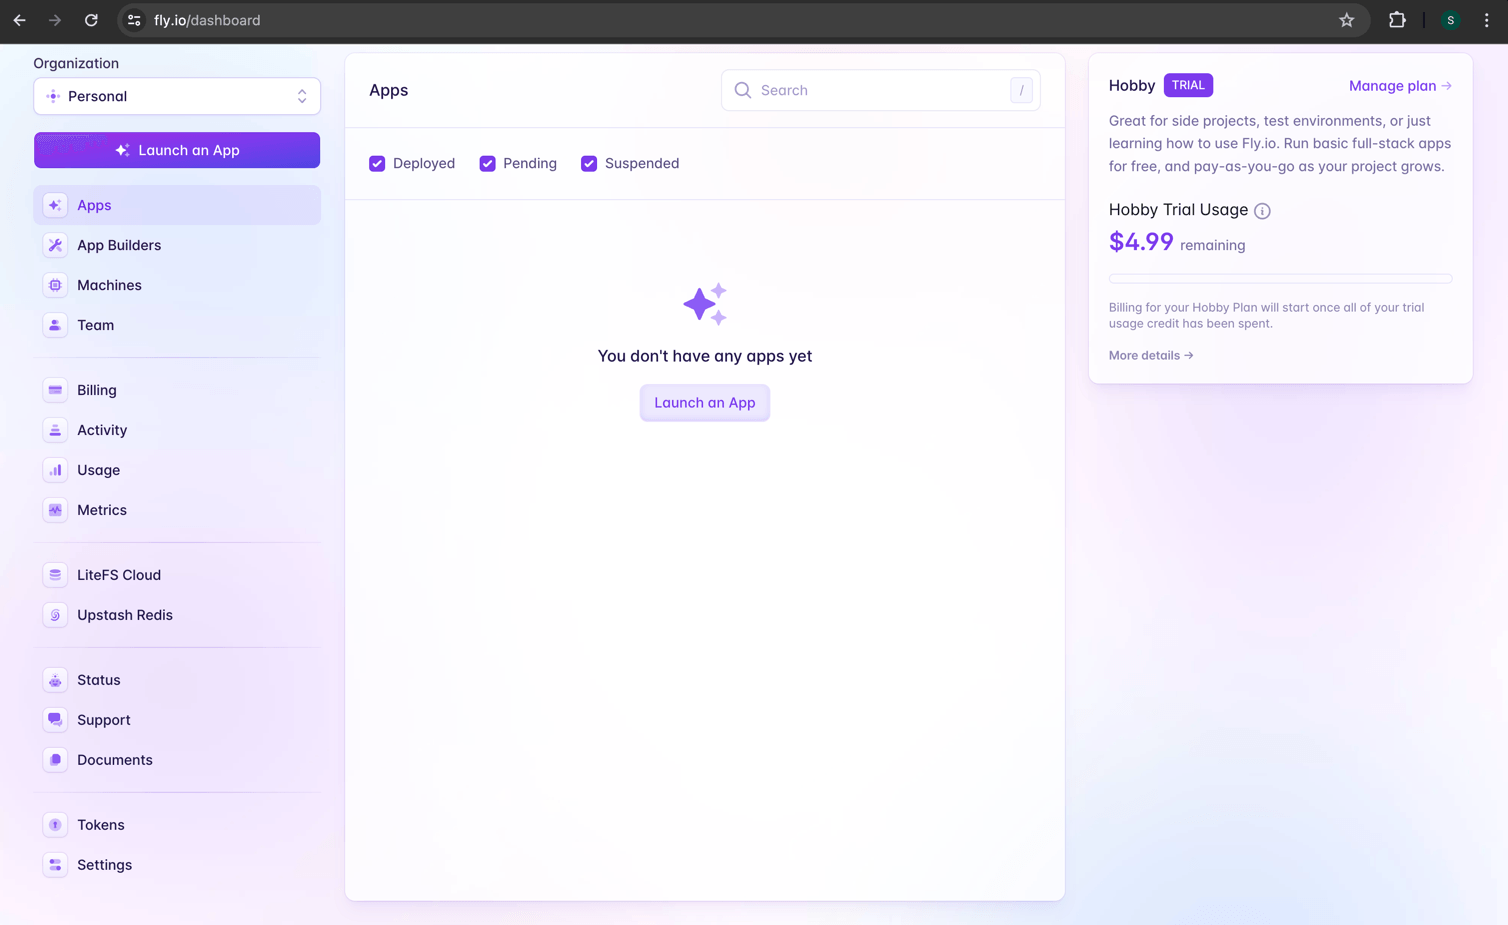
-
Click on
Tokensin the left sidebar.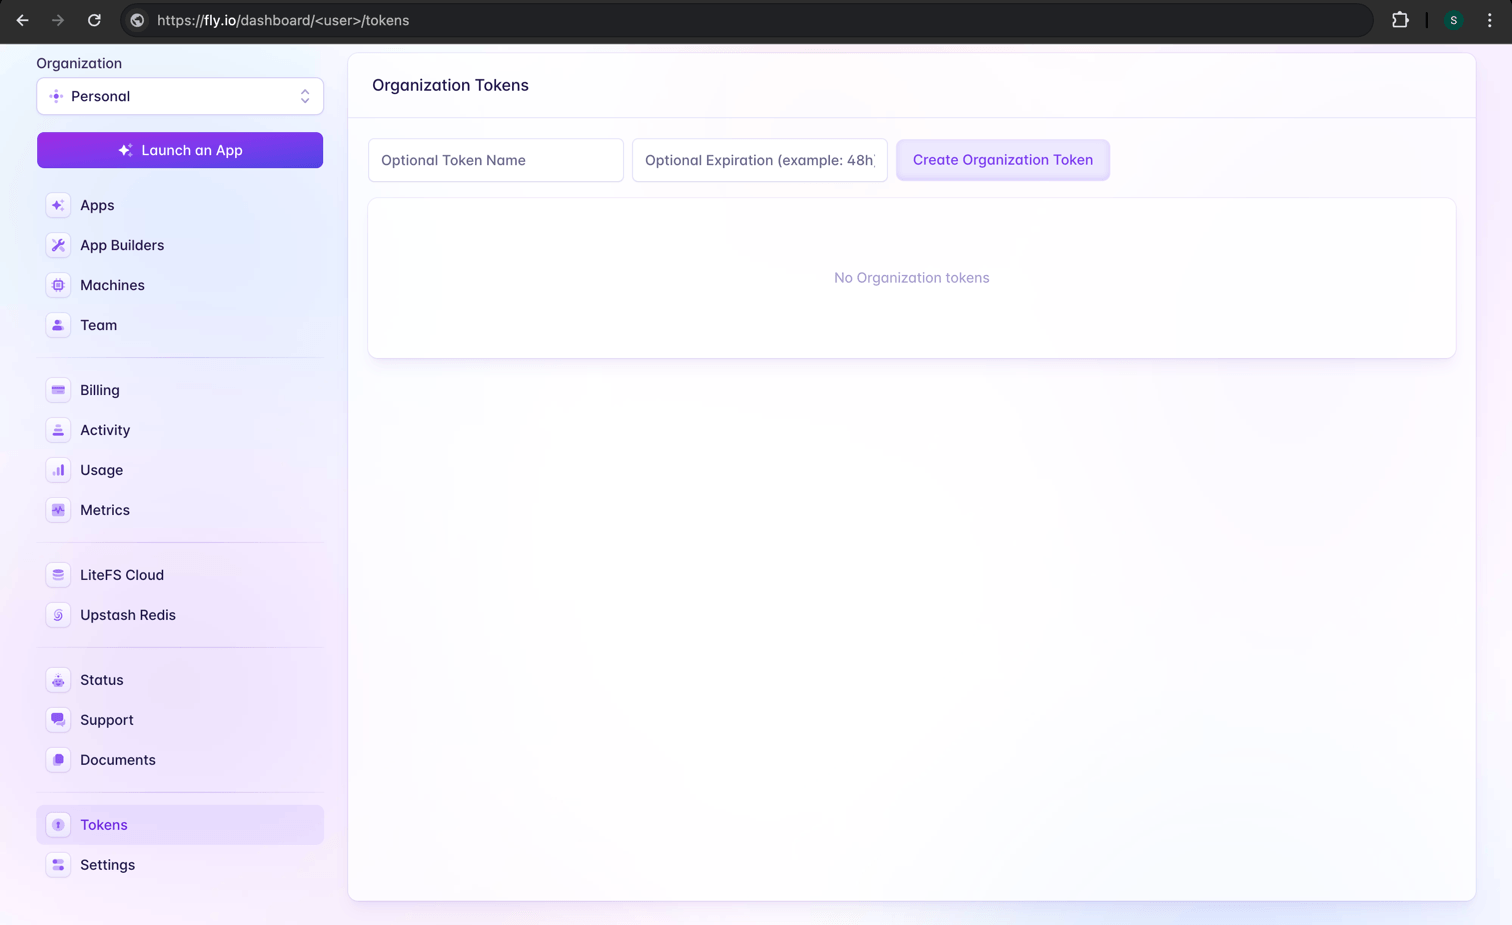
-
Optionally, provide a name and an expiry date for the token. Click on
Create Organization Tokento generate the token.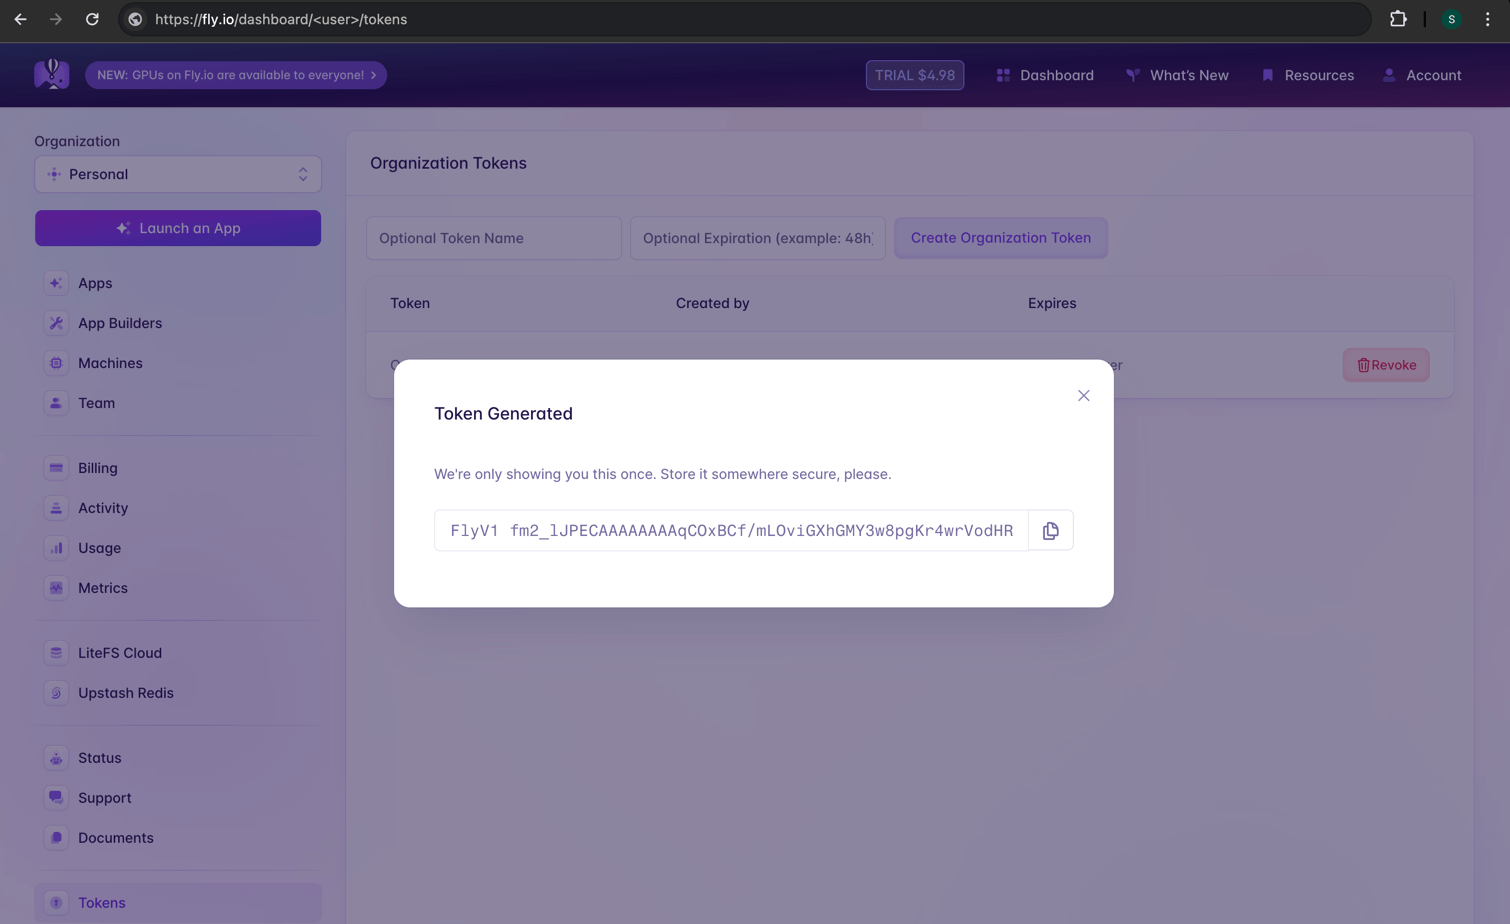
-
Copy the generated token and store it securely. You will need this token as input to the tailcallhq/gh-action when deploying to Fly.io.
Setting Up the Project Repository
Next, create a new repository on GitHub and use the tailcallhq/gh-action GitHub action to deploy it. The easiest way to get started is by using this template repository: https://github.com/tailcallhq/deploy-tailcall.
-
Go to the repository and click on
Use this templateto create a new repository.
-
Name your repository and click on
Create repository.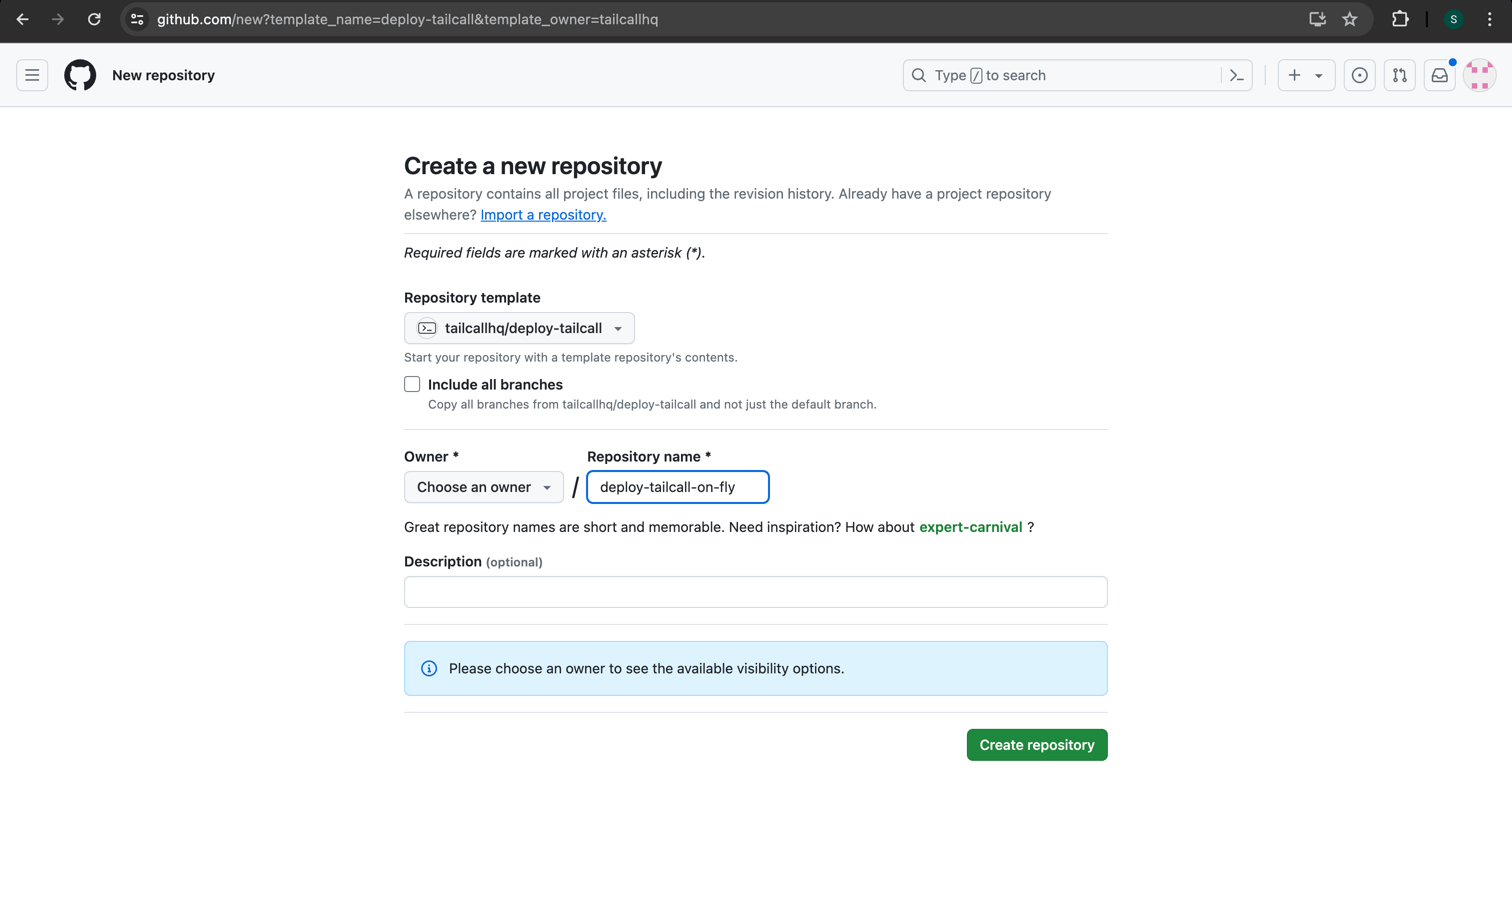
-
After creating the repository, add the Fly.io API token to the repository secrets. To do this, click on
Settings.
-
Click on
Secrets and variablesin the left sidebar to expand the section, then click onActions.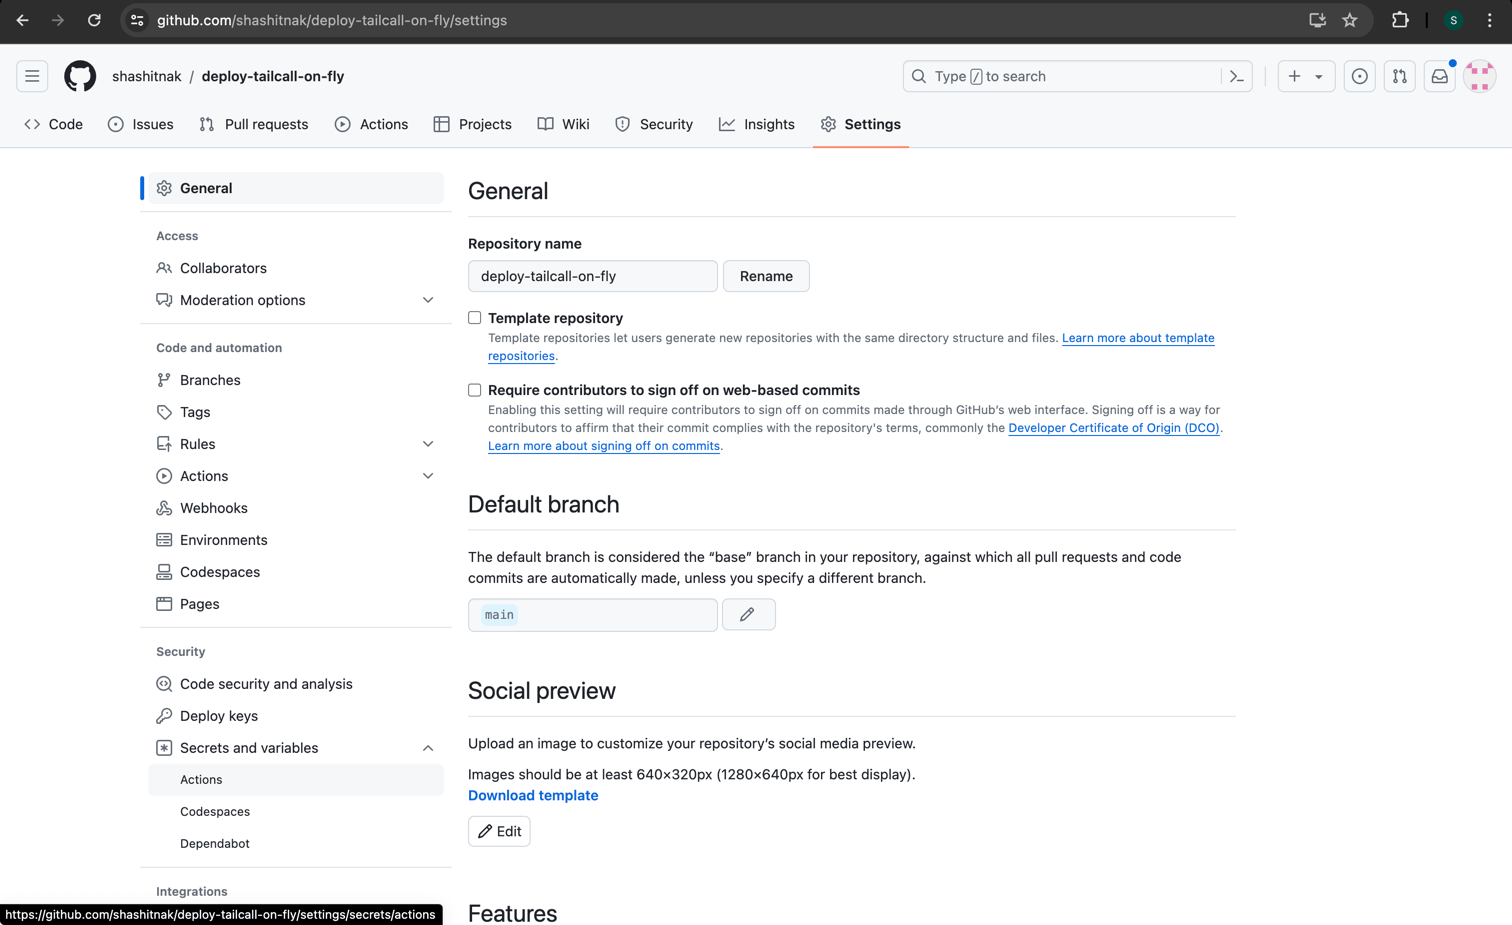
-
Click on
New repository secretto add a new secret.
-
Name the secret
FLY_API_TOKENor any preferred name, and paste the Fly.io API token you generated earlier into the value field. Click onAdd secretto save it.
You are now ready to deploy your tailcall server on Fly.io.
Deploy on Fly.io
In this example, we will deploy a simple GraphQL server using tailcall on Fly.io, which converts the JSONPlaceholder REST API to a GraphQL API.
Below is the configuration present in the template repository, which will be used for this deployment.
schema {
  query: Query
}

type Query {
  posts: [Post]
    @http(url: "http://jsonplaceholder.typicode.com/posts")
}

type User {
  id: Int!
  name: String!
  username: String!
  email: String!
  phone: String
  website: String
}

type Post {
  id: Int!
  userId: Int!
  title: String!
  body: String!
  user: User
    @http(
      url: "http://jsonplaceholder.typicode.com/users/{{.value.userId}}"
    )
}
To deploy the server, update the provider to fly in the deploy-tailcall job in the .github/workflows/main.yml file, as shown below.
on: [push]

jobs:
  deploy_tailcall:
    runs-on: ubuntu-latest
    name: Deploy Tailcall
    steps:
      - name: Checkout repository
        uses: actions/checkout@v2
      - name: Deploy Tailcall
        id: deploy-tailcall
        uses: tailcallhq/gh-action@<version> # Replace <version> with the desired version
        with:
          provider: "fly" # Specifies the cloud provider as 'fly'
          fly-api-token: ${{ secrets.FLY_API_TOKEN }}
          fly-app-name: <app-name> # Replace <app-name> with the desired app name
          fly-region: "lax"
          tailcall-config: "./config.graphql"
When specifying the fly-app-name in your GitHub Actions workflow for deploying to Fly.io, ensure the app name you choose is unique across all Fly.io users.
Fly.io requires each app name to be globally unique. If the name you select is already taken by another user, your deployment will fail. To avoid this issue, consider using a name that includes unique identifiers such as your organization name, project name, etc. If you do not specify the app name, <orgname>-<reponame> will be used.
After updating the main.yml file, commit the changes and push them to the repository. This will trigger the deployment of the tailcall server on Fly.io. Once the deployment is successful, you can access the GraphQL playground at https://tailcall.run/playground/?u=https://<fly-app-name>.fly.dev/graphql.